
| 일 | 월 | 화 | 수 | 목 | 금 | 토 |
|---|---|---|---|---|---|---|
| 1 | 2 | 3 | 4 | 5 | 6 | |
| 7 | 8 | 9 | 10 | 11 | 12 | 13 |
| 14 | 15 | 16 | 17 | 18 | 19 | 20 |
| 21 | 22 | 23 | 24 | 25 | 26 | 27 |
| 28 | 29 | 30 | 31 |
- WebLogic 데모 인증서 먼저 인식
- RabbitMQ 테스트
- iPlanet7
- WebLogic Stack Size
- org.glassfish.jersey.internal.Errors logErrors
- 1024k
- 다테 민속촌
- was log4j
- AWS Certified Cloud Practitioner
- weblogic 500 error
- JBoss JDK
- Stack Size
- JBoss7
- RabbitMQ Python
- RabbitMQ Tuttorials
- JBoss OS
- log4j 보안취약
- WebLogic log4j
- weblogic jersey
- OPSS DemoIdentity
- jersey servlet error
- webserver cors
- ams 자격증 준비
- JBoss Support
- WebLogic 사설인증서
- ClassNotdefFound
- Tomcat
- AWS module 1
- iPlanet cors
- AWS Practitioner 공부
- Today
- Total
개인 저장용 블로그
Intellj 를 사용하여 spring initializr 생성 및 실행 본문
# JPA 테스트를 하기 위한 환경 구성
1. Intellj 설치
Intellj 설치 경우 많이 나와 있어서 생략 하도록 하겠습니다.
참고 URL
| https://goddaehee.tistory.com/195 |
2. spring initializr 프로젝트 생성
spring initializr 프로젝트를 생성을 하려고 보니 spring initializr 가 없었습니다.
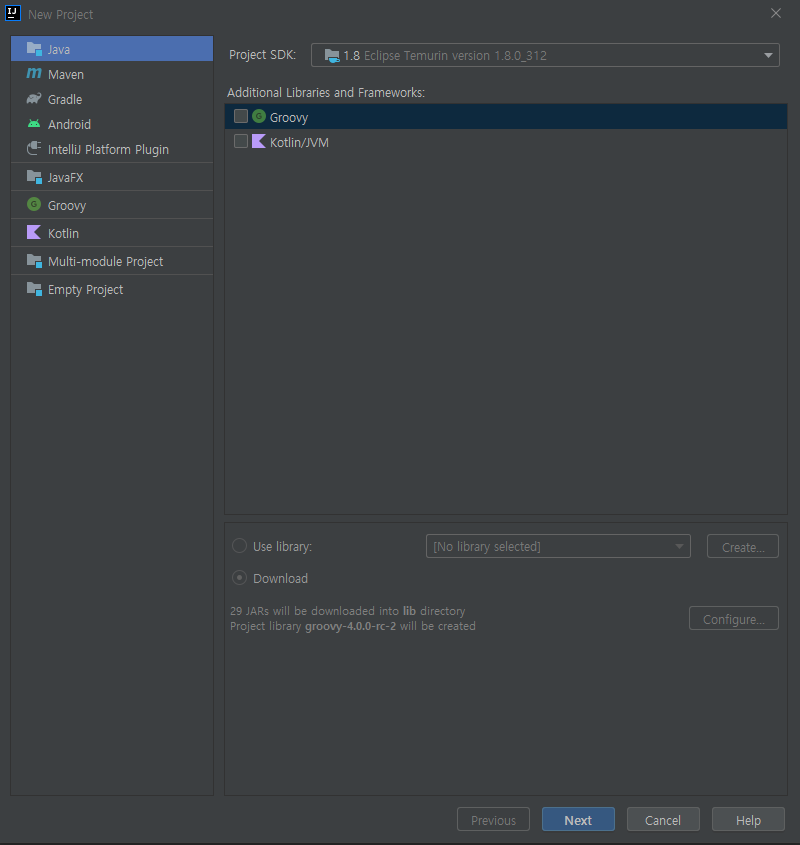
확인해 보니 Community 버전은 spring initializr 을 지원하지 않기 때문에 Spring 사이트로 가서 프로젝트를 생성해야한다. 아래 URL에 접속 후 프로젝트를 생성합니다.
| https://start.spring.io/ |
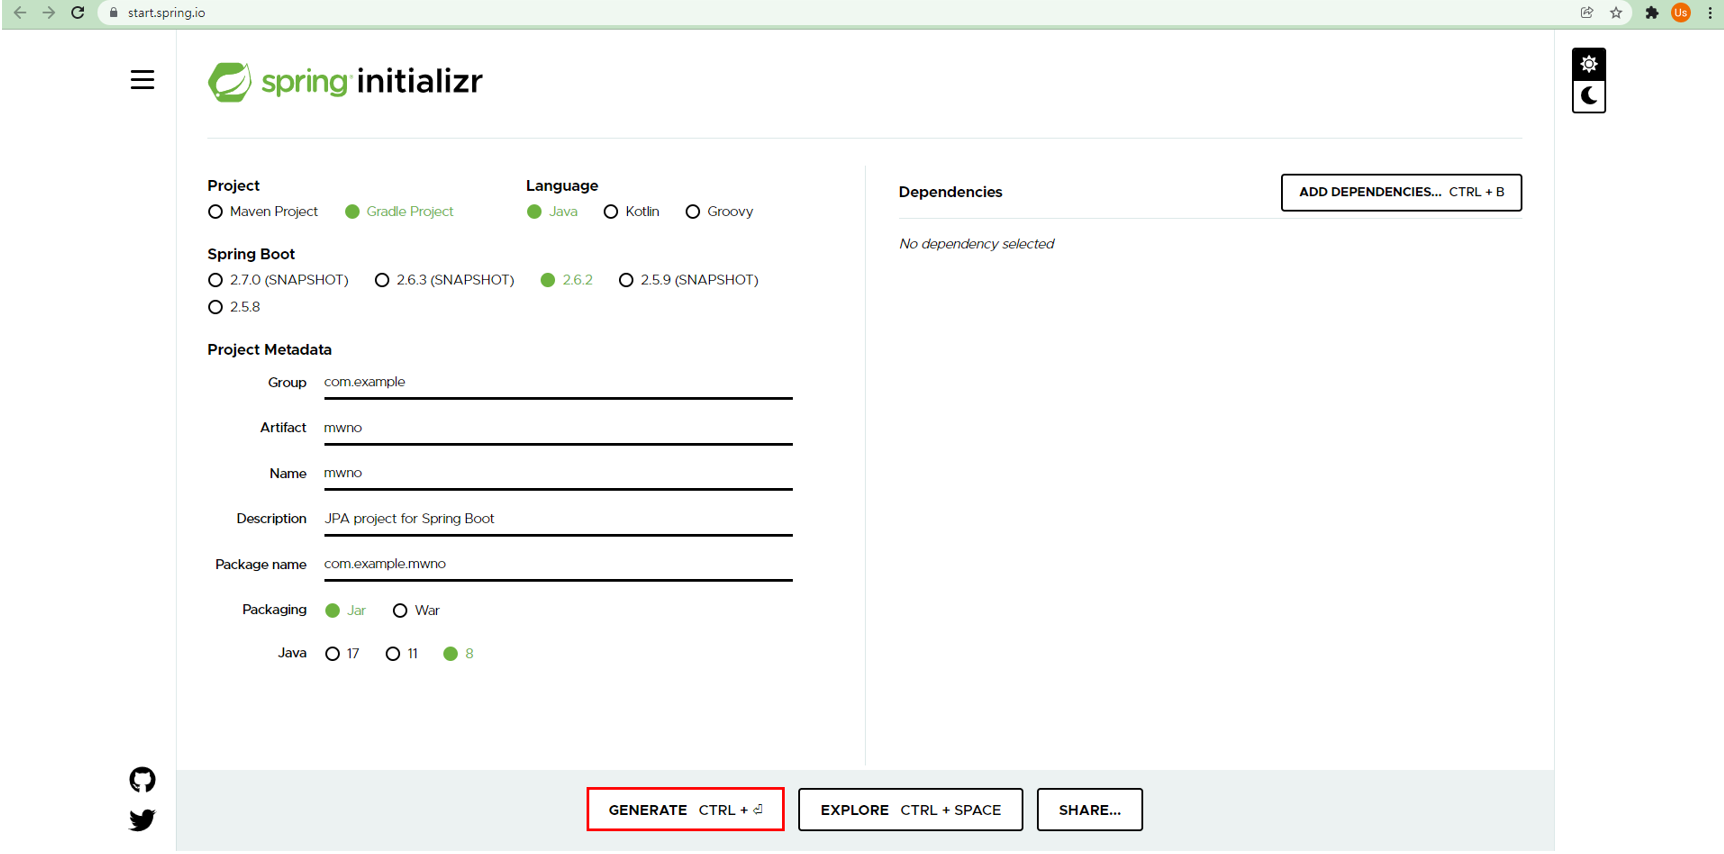
설정은 아래와 같이 설정 합니다.
| Project | Gradle Project |
| Language | Java |
| Spring Boot | 2.6.2 |
| Packaging | jar |
| Java | 8 |
GENERATE를 클릭하면 zip 파일이 다운로드 되는데 압축 해제 후 Intellj 에서 Open으로 설정합니다.
참고 URL
| https://yuhe-dogspaw.tistory.com/198 |
3. Build
빌드를 하려고 하는데 "cannot resolve symbol String" 과 같은 cannot resolve symbol 관련 이슈가 발생 하였습니다.
해당 이슈는 SDK 설정이 안되서 발생하는 이슈 입니다.
상단 file => Project Structure 클릭 한후 아래와 깉이 SDK 설정을 해줍니다.

참고 URL
| https://csy7792.tistory.com/101 |
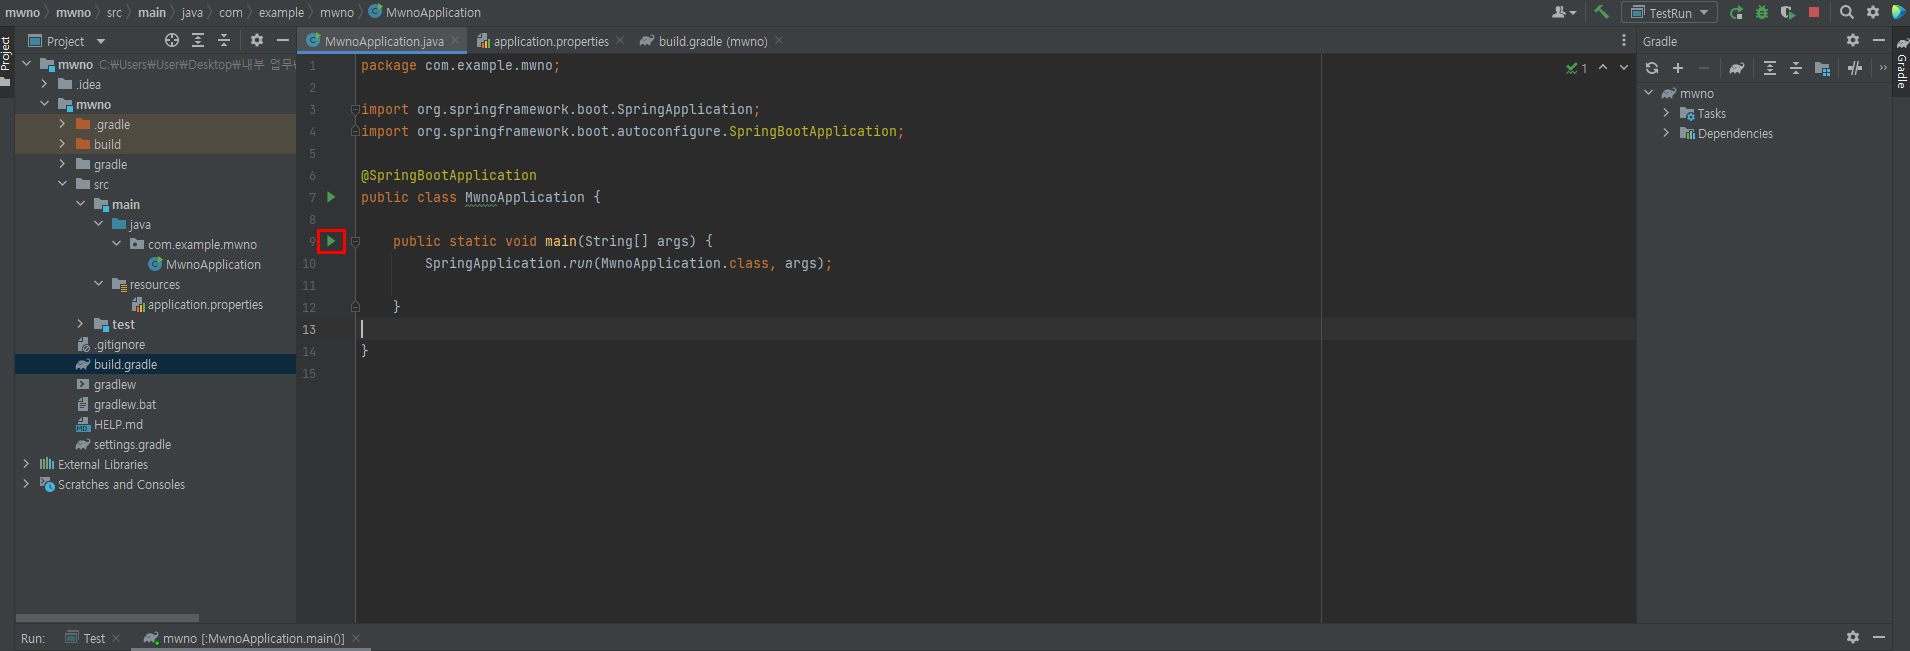
4. RUN
빌드 이후 RUN을 하려고 하였지만 RUN 버튼이 비 활성화가 되어 있습니다.
아래와 같이 Main 함수에 Run을 클릭합니다.
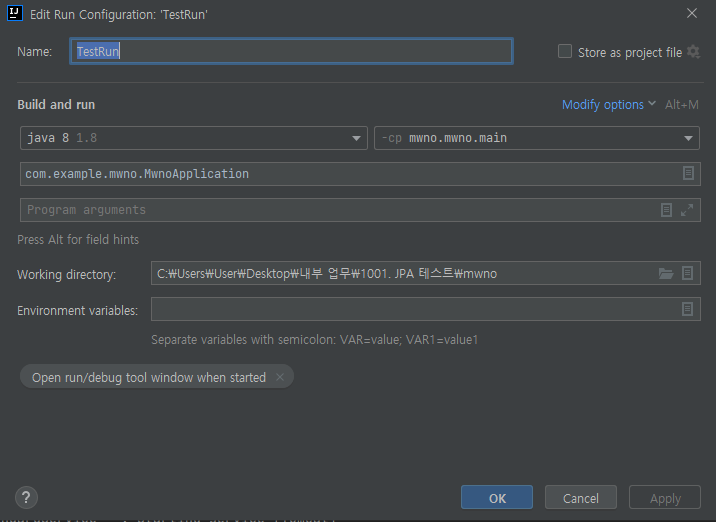
이후 아래와 같이 설정 합니다. ( 설정시 Application로 선택)
참고 URL
| https://csy7792.tistory.com/101 |
5. RUN
RUN 버튼을 활성화 하면 아래와 같이 나오고 8080 port로 LISTEN 되지 않습니다.
| . . . 2022-01-10 14:24:13.693 INFO 3536 --- [ main] com.example.mwno.MwnoApplication : Starting MwnoApplication using Java 1.8.0_312 on DESKTOP-DOQ4RG1 with PID 3536 (C:\Users\User\Desktop\내부 업무\1001. JPA 테스트\mwno\mwno\build\classes\java\main started by User in C:\Users\User\Desktop\내부 업무\1001. JPA 테스트\mwno) 2022-01-10 14:24:13.697 INFO 3536 --- [ main] com.example.mwno.MwnoApplication : No active profile set, falling back to default profiles: default 2022-01-10 14:24:14.435 INFO 3536 --- [ main] com.example.mwno.MwnoApplication : Started MwnoApplication in 1.22 seconds (JVM running for 1.912) |
build.grdle 내용 수정이 필요 합니다.
| dependencies { implementation 'org.springframework.boot:spring-boot-starter' testImplementation 'org.springframework.boot:spring-boot-starter-test' implementation 'org.springframework.boot:spring-boot-starter-data-redis' implementation 'org.springframework.boot:spring-boot-starter-web' compileOnly 'org.projectlombok:lombok' annotationProcessor 'org.springframework.boot:spring-boot-configuration-processor' annotationProcessor 'org.projectlombok:lombok' testImplementation('org.springframework.boot:spring-boot-starter-test') { exclude group: 'org.junit.vintage', module: 'junit-vintage-engine' } } . . . bootRun { String activeProfile = System.properties['spring.profiles.active'] systemProperty "spring.profiles.active", activeProfile } |
이후 bulid 후 Run을 클릭해줍니다.
| . . 2022-01-10 14:40:59.109 INFO 22292 --- [ main] o.s.b.w.embedded.tomcat.TomcatWebServer : Tomcat started on port(s): 8080 (http) with context path '' 2022-01-10 14:40:59.122 INFO 22292 --- [ main] com.example.mwno.MwnoApplication : Started MwnoApplication in 4.937 seconds (JVM running for 5.428) 2022-01-10 14:41:31.954 INFO 22292 --- [nio-8080-exec-1] o.a.c.c.C.[Tomcat].[localhost].[/] : Initializing Spring DispatcherServlet 'dispatcherServlet' 2022-01-10 14:41:31.954 INFO 22292 --- [nio-8080-exec-1] o.s.web.servlet.DispatcherServlet : Initializing Servlet 'dispatcherServlet' 2022-01-10 14:41:31.955 INFO 22292 --- [nio-8080-exec-1] o.s.web.servlet.DispatcherServlet : Completed initialization in 1 ms |
# 호출
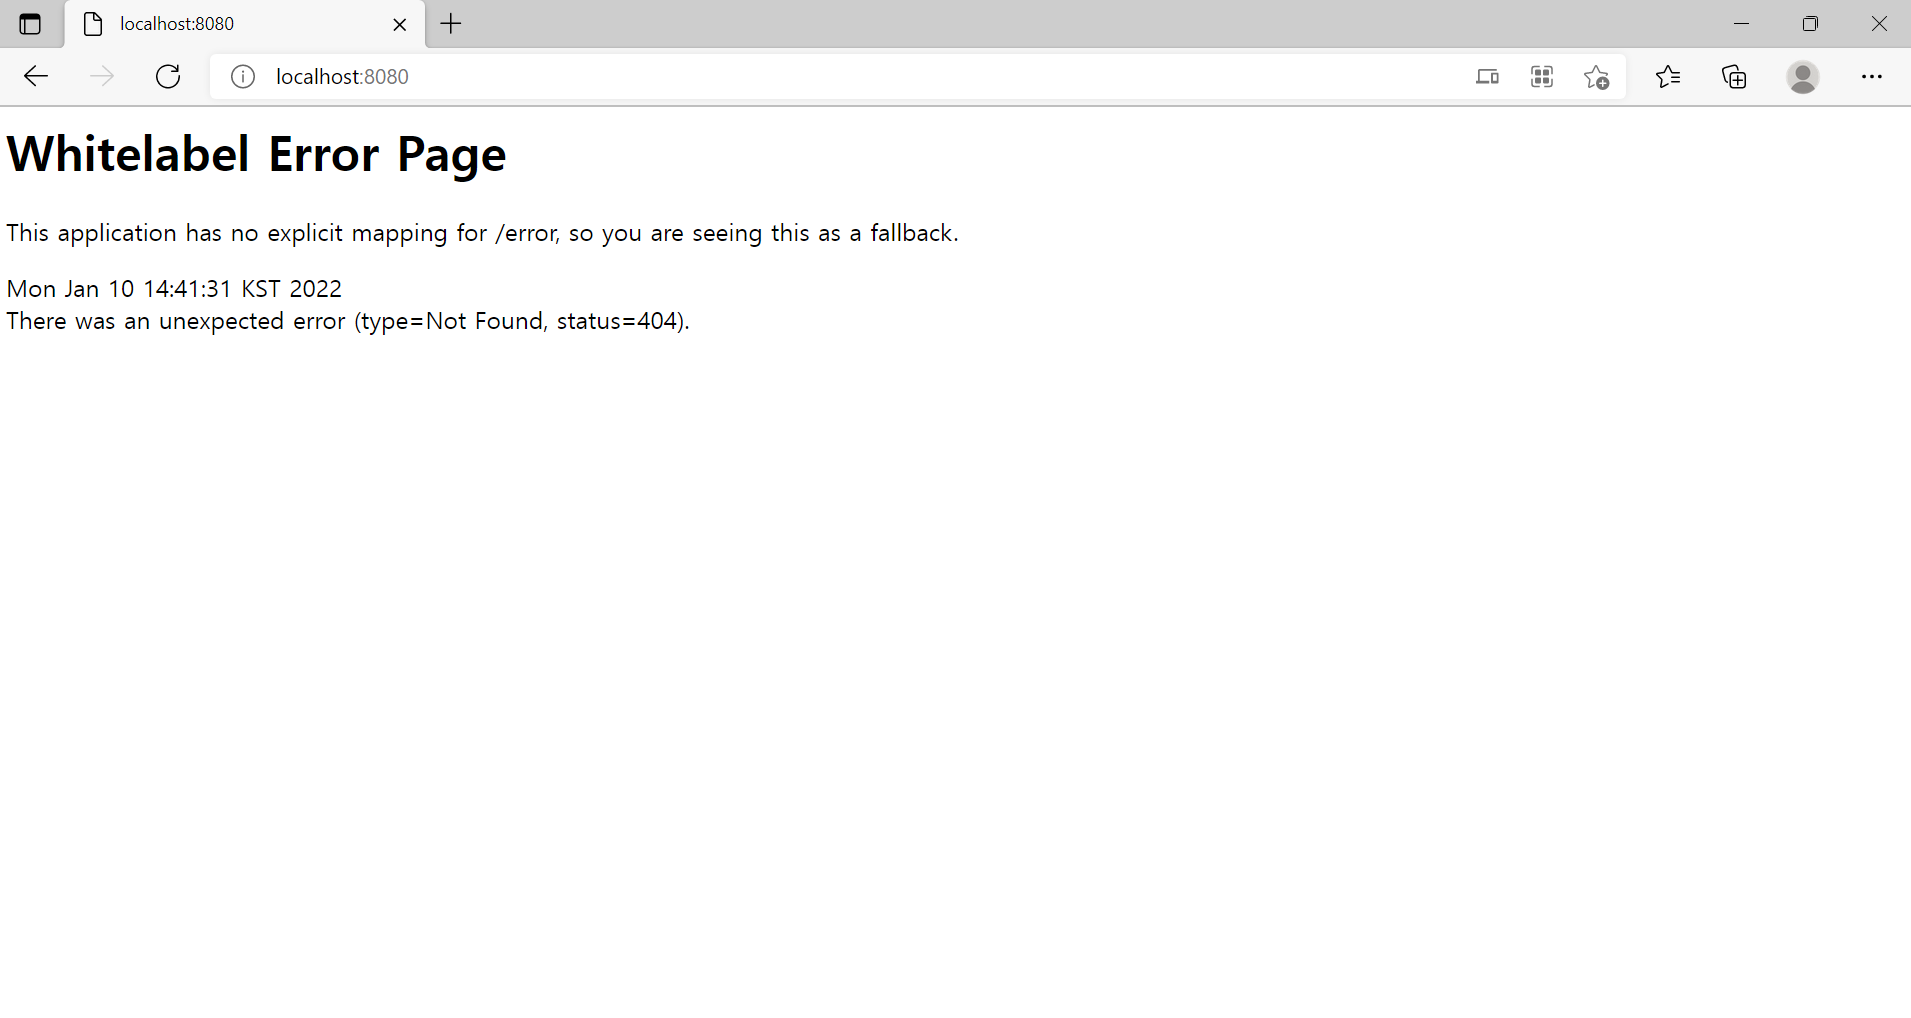
참고 URL
| https://lejewk.github.io/springboot-gradle-spring-profiles-active/ |
'개발공부 > 개발 툴' 카테고리의 다른 글
| Sping boot에서 H2 Console 접속하기 (0) | 2022.01.11 |
|---|
